Wednesday, October 19, 2022

Long Term Projects Part 2

Each type of project gets a little different path of production. This post will explain how I look at fusible machine applique (FMA). As much as I love hand applique, this style of quilting holds a special place with me. It was the first, stand alone, workshop I took after learning how to quilt. A few weeks after that class, my phone rang and on the other end was someone from that workshop, asking if I wanted to go on a local shop hop with her.  This  someone is now very dear to me and we still quilt together 22+ years later. In fact, we will be retreating together in a few weeks.
Old Voices Jeanna Kimball Pattern

 Once you decide on a pattern the first step is to pull out your light box, pattern, pencils and fusible webbing.  I like Steam a Seam Lite. Trace out EVERY piece needed to create the whole quilt. While doing this step try to to maximize your fusible by keep shapes that use the same fabric close  together. Each block gets labeled and I draw a line separating the pieces for each block. Now you can put away your fusible and light box and get to the next step. 

Pull fabrics for each block and start the fusing process. If your block has cherries, that section of fusible will be cut and fused to a red fabric and set aside. Continue until you have all the pieces of the block fused onto fabric. Take those sections and put in a zip bag. I would continue until I have all the drawings fused onto fabric. Now you have something that can be done in the evenings, while watching tv. For me, this time is not dedicated "quilting" time, but family time. Put a paper bag on the floor and start cutting out all the shapes. Make sure each piece goes back into its own labeled bag.

Now the only thing you have to do is cut your backgrounds and start designing with your ready to go pieces.  Organize your applique pieces on the background and fuse following manufactures directions.

Once you have all your blocks completed, they are ready for the machine applique.  For the quilt shown above, it was a perfect retreat project.  All the blocks were stacked up, I picked one color of thread, and machine stitched EVERY piece on EVERY block before I changed out my thread color.  I see quilters change threads 5 - 6 times for one block, and then move onto the next block.  That method is a huge tine sucker.  After all the embellishment stitching is completed, you are ready to assemble your quilt top.

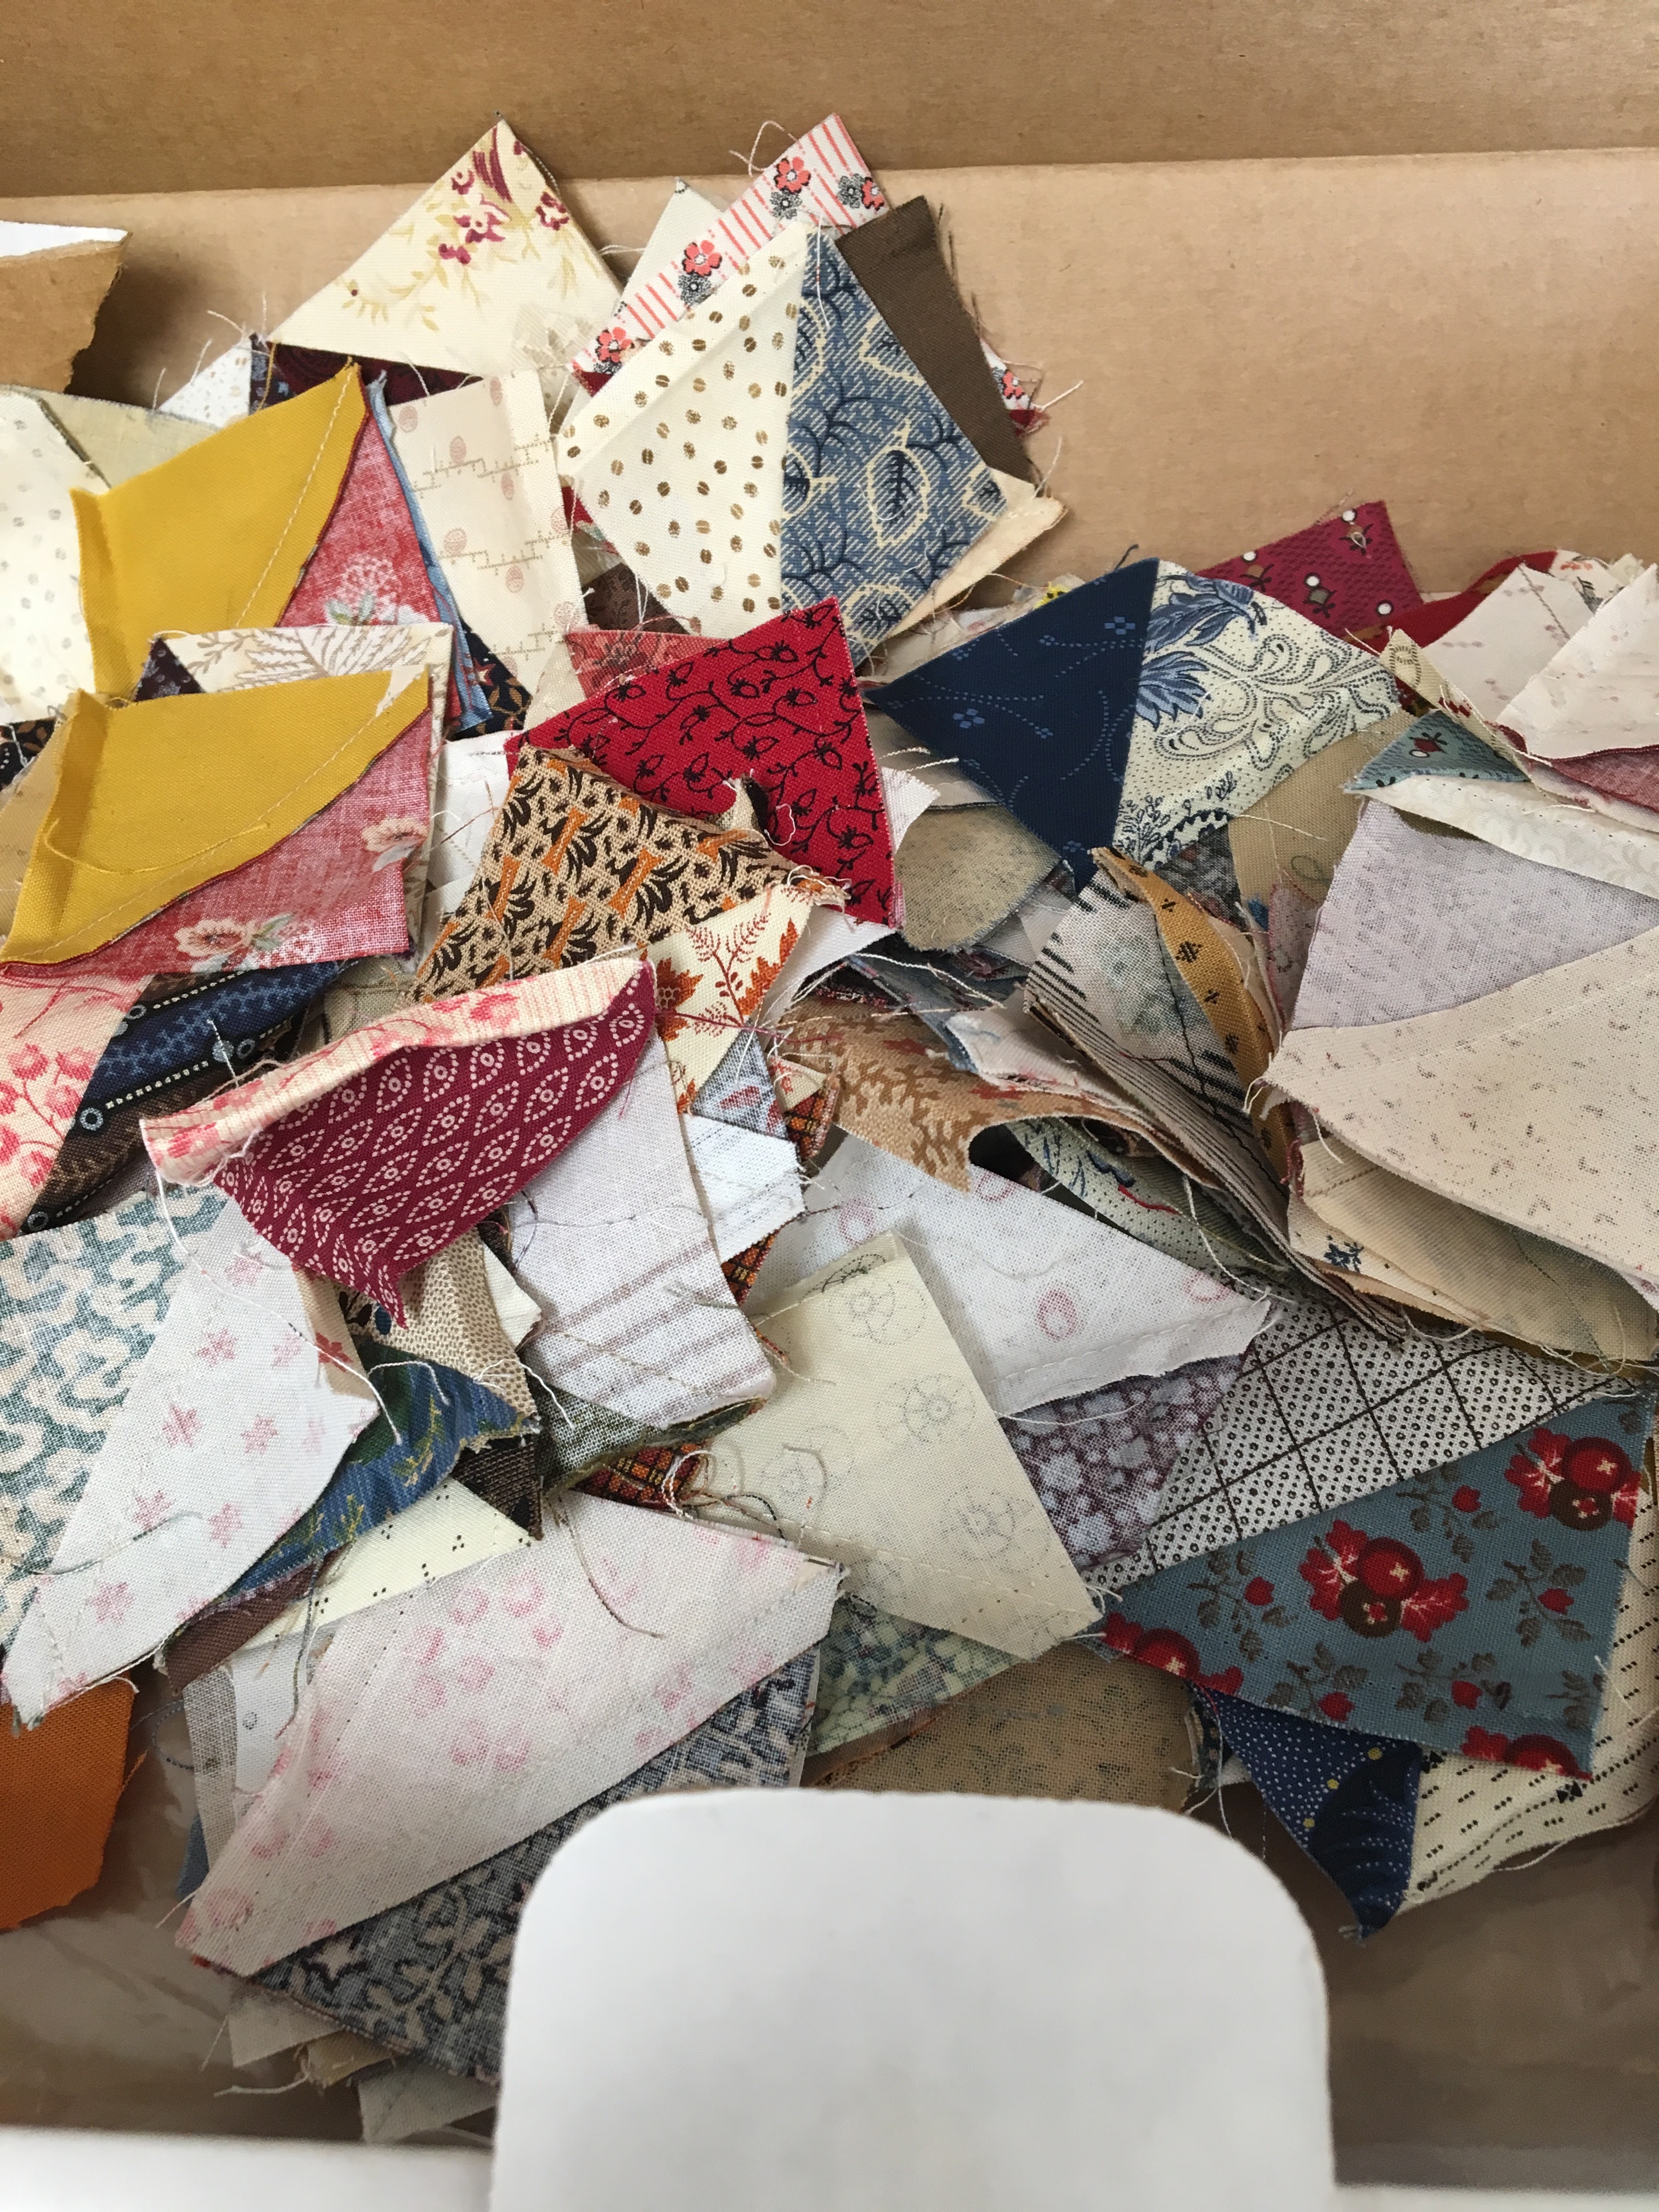
For the quilt shown above, I decided to make 1/2 square triangles from all the colors used in the applique, as well as other fabrics.  Each time I had a fabric out for fusing, I also cut a couple of squares, drew a line corner to corner and bagged them up.  Any time I had light prints on my cutting table, I cut a few squares for this project and continued to add to my sashing bag.  Don't forget to draw the line before putting them into a bag.  Now I had a "leader/ender" project (Bonnie Hunter system)..  It's amazing how fast these 1/2 squares get sewn together.   Every time I get sewing time, I commit to cutting, pressing and trimming 10 units before I start on my project at the time, and at the end of my sewing time I organize 10 more blocks on my sewing table.  That way I have set myself up for my next time at my sewing machine.  Once my 1/2 sqs were finished, I again, use the "leader/ender" process to sew the blocks into strips of 6.  Also think about Victoria, from VWFQuilts, and her 15 minutes of play.  If that's all the time you have to sew, grab this bag and sew a few pieces, or trim up a few pieces. In no time all your sections will be together, and you are on the home stretch of putting the quilt top together.

While working in this method, a lot of time is saved and you might not get burned out at that thought of cutting, marking, sewing, cutting, pressing, and trimming 372 half sq triangles and then sewing them into strips of six.  The sections organically get put together while you are moving forward on other projects.

These tips will only be helpful if you work on several projects at one time.  I know there are some outliers who start and finish one quilt at a time. Let me know if this has been helpful.  I have a few other 'process posts' rolling around and I'd be happy to share.

Meanwhile, keep stitching,

Sharon

Monday, October 10, 2022

Long Term Projects Part 1

I was chatting with another quilter about how to keep the mojo going on these long term projects, and thought it would be a good thing to blog about. Some quilters literally crank out tops at a rate that could make you dizzy.  Other quilters work on projects that take years to finish.  Both kinds of projects are great, that's the beauty of quilting.  There is something for everyone.   I tend to fall into the "years to finish" category, and yet, I can crank out a top in a hurry when needed.  This wasn't one of them.

Hand pieced Judy Newman Pattern
 

With most quilts that I make, I tend to break down the project by PROCESS.  This pattern has only one block, so the first process was making the templates.  Since I would be reusing each piece, some over 120 times, I knew that freezer paper, even the heavy stock, would not hold up to repeated use.  Once I had templates made, I started picking fabrics for each block.

The second "process" was pulling fabrics for the first few blocks.  Once you do a fabric pull, the next step is to get out your marking pencils, sandpaper board, cutting tools etc.  Start marking out one block and get it on the design wall.  Mark 3 or 4 more, and this will set the tone for your future fabric pulls. 

Keep going until you have all your blocks marked, cut and on the design wall.  Once you decide on your layout, then photograph your top.  Next, photograph each block, create a folder on your phone and move all the pictures there. Tackle one block at a time.  I take the pieces off the wall, layer pieces that get stitched together first and pack it in a zip lock clear bag.  Now you are ready to "grab and go"

Hand piecing is a perfect project for your purse or carry on bag.  You can get little bits of blocks put together without sacrificing any "sewing time".    I use a zip pouch that contains a few zip bags of pieces, needle and thread, small snips and my tiny pin cushion.   We rarely go anywhere without our phones, so having the photos of each block gives me a road map to the layout of fabrics.

At this point, all your fabrics can be put away, and you don't need anything but a zippered pouch to carry this around with you.  Those moments waiting for appointments, watching kids at sports games, going to the grocery store with someone else driving, relaxing with family in the evening are all opportunities to move these blocks forward.  It takes up virtually no space as you only need to have one or two little zip lock bags in your pouch. 

  For everyone things are different, life interruptions happen.  Work, kids, parents, home renovations, broken bones and broken machines.  There are so many external factors that can inhibit traction on projects.  Just know you are not alone.  Your setbacks will be unique to you, but hopefully some of my habits may help you jump start a project or prevent you from putting it in a box on the back of a shelf.

The photo above is now a top, and the next steps to moving it forward are to make a backing, choose a binding and get it made and tagged, and decide on how it will be quilted (beyond the decision to hand quilt it)  I'm leaning to a Baptist Fan so once it's marked, I can baste it and start the hand quilting. But it has to get in line, I have several in that slot already.

Keep stitching,

Sharon